
christmas presents :: prendas de natal
Christmas is my favourite season of the year. I love the lights, the smells and, most of all, the spirit whitin my city. For me it's when I feel most creative and most keen to make handmade projects.
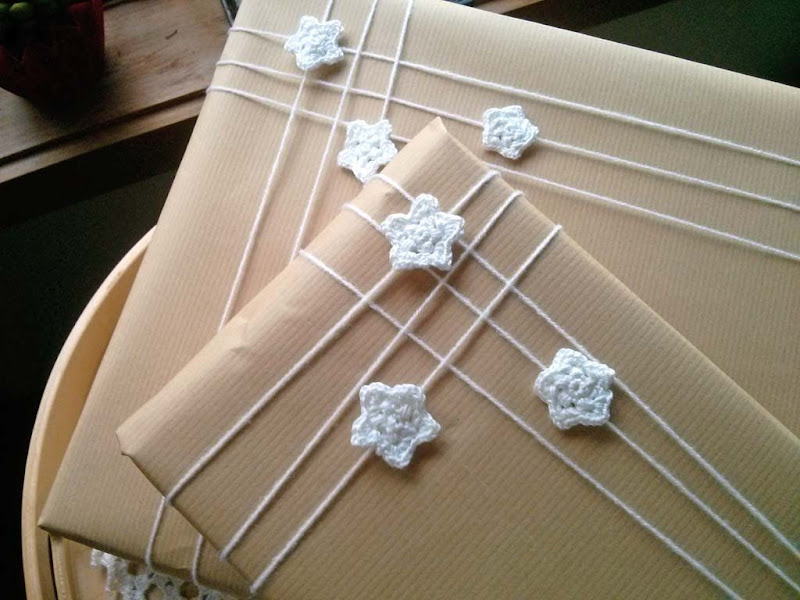
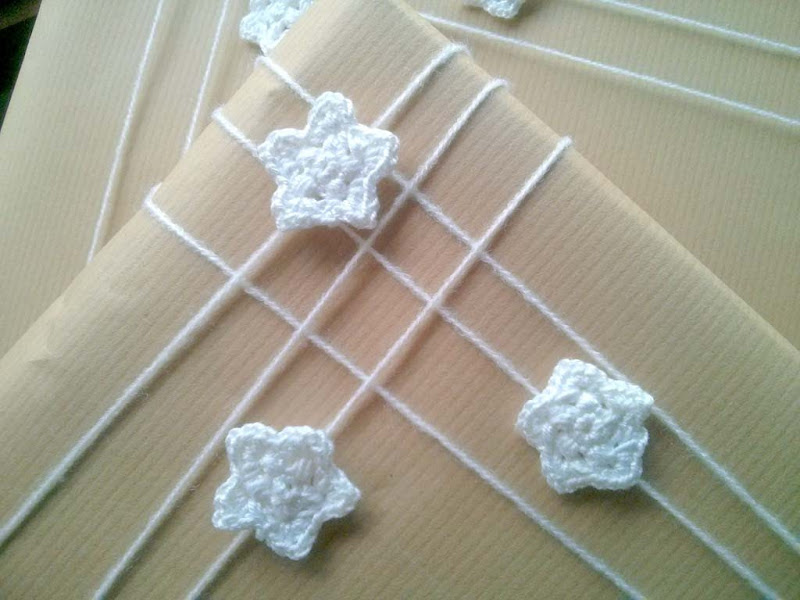
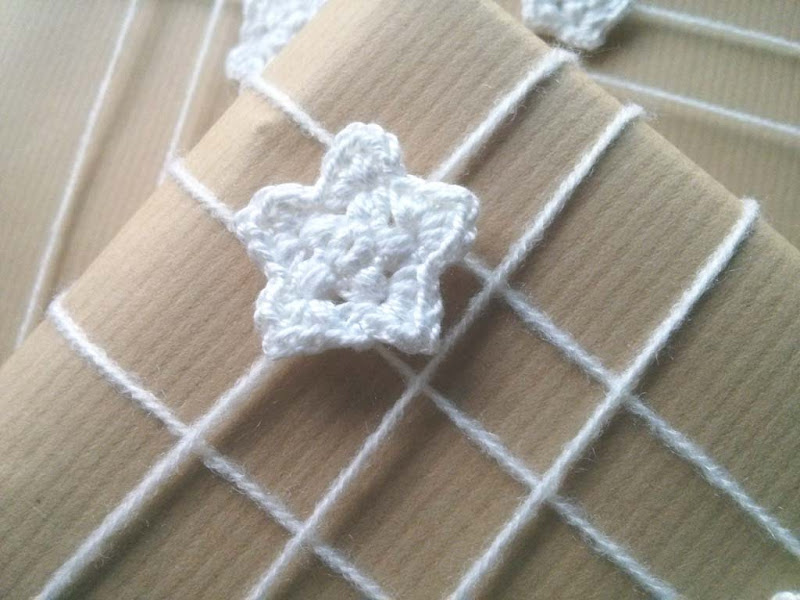
Every year I try to put myself into the gifts' wrapping. This year I decorated our gifts with little crochet white stars.
I thought I should share it here on the blog how to make them, so you can also give it a try :)
Christmas little crochet stars
Stitches & Abbreviations
- Magic ring: a fun way to start your little star. There are so many how tos out there already that I prefer to refer you to, for instance, Instructables.
- Puff stitch: * put your yarn over the needle, insert hook into ring of sc, yarn over the needle and pull through*. Repeat from * 2 more times until you have 7 loops on your hook. Yarn over one last time and pull hook through all the loops on your hook at once.
- CH: chain stitch
- SC: single crochet
- SL ST: slip stitch
- DC: double crochet
Instructions
- Start by making a magic ring with 5 SC.
- On the next round, * make 1 puff stitch, chain 2 *. Repeat from * 4 more times so you have 5 puff stitches. SL ST into the top of the first puff stitch.
- On the last round, CH 1. In the same stitch, work (2 DC, CH 1, 2 DC, 1 SC). In the next 4 puff stitches, work (1 SC, 2 DC, Chain 1, 2 DC, 1 SC). SL ST into the first DC to end the round.
O Natal é a minha época do ano favorita. Adoro as luzes, os cheiros e, acima de tudo, o espírito na minha cidade. Para mim, é quando me sinto mais criativa e propensa a fazer projetos manuais.
Todos os anos procuro dar um pouco de mim nos embrulhos dos nossos presentes. Este ano decorei-os com pequenas estrelas brancas.
Pensei em partilhar aqui no blog como podem fazê-las também :)
Estrelinhas de Natal em crochê
Pontos & Abreviaturas
- Anel Mágico: é uma forma gira para se começar a estrelinha. Já há tantas instruções que eu prefiro referir-te uma, como por exemplo, a que está descrita no Wikihow. Para este projeto usei o primeiro método.
- Ponto Avelã (ou bola): * passa a linha sobre a agulha, insere o gancho no anel do PB, passa a linha novamente por cima da agulha e puxa-a*. Repete a partir de * até que tenhas 7 voltas na agulha. Passa uma última vez a linha sobre a agulha e puxa por todas as voltas que estão na agulha, de uma só vez.
- Corr.: ponto corrente
- PB: ponto baixo
- PBX: ponto baixíssimo
- PA: ponto alto
Instruções
- Começa por fazer um anel mágico com 5 PB.
- Na volta seguinte, * faz 1 ponto avelã, Corr. 2 *. Repete a partir de * mais 4 vezes, para que tenhas 5 pontos avelãs. Liga ao primeiro ponto avelã com um PBX.
- Na última volta, faz 1 Corr. No mesmo anel, faz (2 PA, 1 Corr., 2 PA, 1 PB). Nos próximos 4 pontos avelãs, trabalha (1 PB, 2 PA, 1 Corr., 2 PA, 1 PB). Faz 1 Corr. no primeiro PA para terminar a volta.